Feed the Scorchpot Dice Tier List
A die is only S-tier if it prints the Marks your farms already sit on.
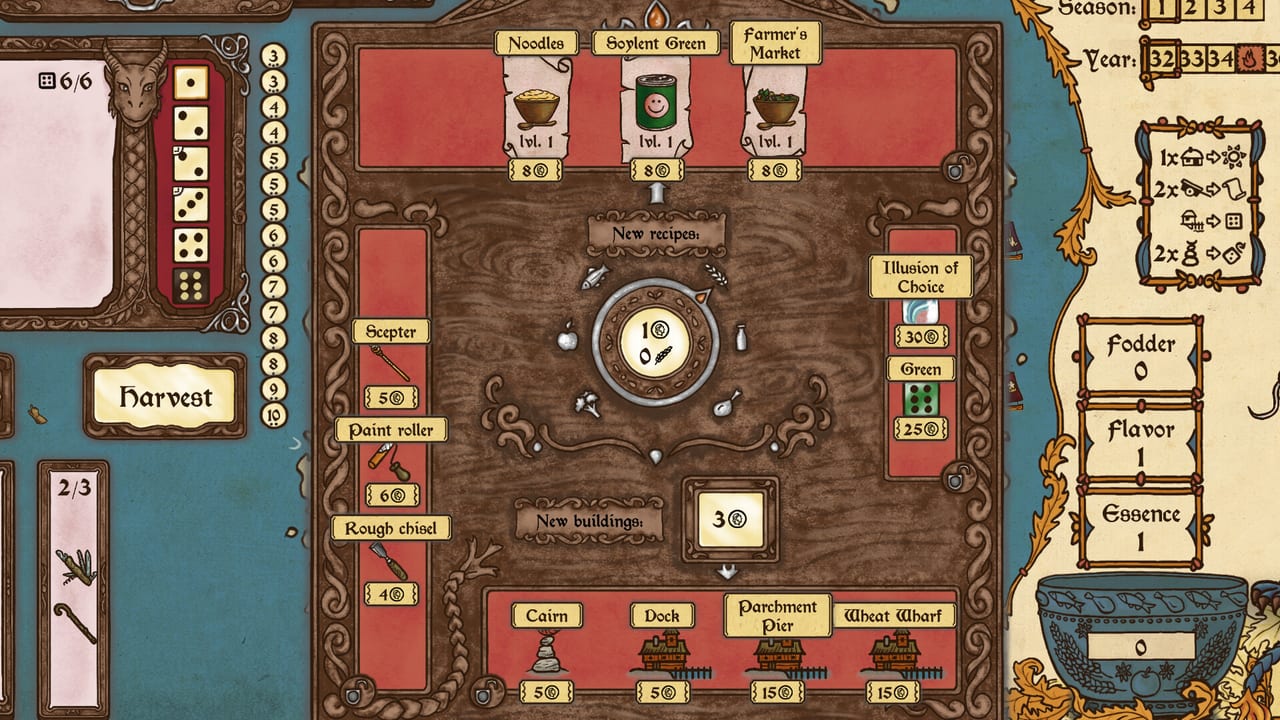
Twenty-plus dice types. One ranking rule: tray follows board. Read Dice for identities, How to Play for Marks, and test faces in Dice Odds. Sibling lists: buildings and recipes.
S-tier: bias that matches the cluster
Even dice on even farms (6-8-10). Odd dice on odd farms (5-7-9). Any face replacement that makes your two target Marks more common.
These dice are scoring items. They are not cosmetics. Buy them after the cluster and the matching recipe exist. Bought first, they are expensive noise.
A-tier: reliability
Extra reroll support (buildings or faces that let you hunt without burning the year). Reliability is how you survive tantrums.
Colored dice that tag a building you already placed. If the color does nothing without a shrine you refused to stamp, it is C until the shrine exists.
A second biased die that agrees with the first. Two even dice on an even island are a plan. An even die plus an odd die is a coin flip factory.
B-tier: toys with a job
All-sixes dice when you already farm 6 and 12. High-score mode. Teaching-run optional. Fair extra cubes if the current rules give you a fourth Mark without drowning the keep/reroll UI. If extra cubes only add noise, they drop to C. Starting-kit gem dice from unlocks. A-tier in a planned New Game Plus, B in a first contract where you still need to learn 7s.
C-tier: off-plan weather
Odd dice on even farms, and the reverse. All-sixes with no 12 cluster. Colored dice whose synergy you do not own. Anything you buy because the dragons page made you greedy before year five.
How to rank a shop die in ten seconds
- What two Marks do my farms want? Use the Mark Planner if you cannot add.
- Does this die make those sums more common?
- If yes, it is S or A. If no, it is C regardless of the flavor text.
- If the shop is about to scorch, buy the S-tier die now. You cannot browse later.
Interaction with tools
A C-tier tray plus an extra-Mark tool can fake an S-tier season. That is a rental. The next season the tray is still C. Spend gold on bias if you have it; spend the tool if you do not.
First-contract recommendation
Do not touch specialty dice until you have finished one twenty-year deal with fair cubes. The walkthrough is easier to learn when 7 still behaves like 7. After that, bias hard and chase screenshots via Scoring Combos.
That is the dice list. It will look wrong on a screenshot of someone else’s island. It is supposed to.
Parity homework
Write your farm numbers on paper. Circle even or odd. If the circle is even, odd dice are C until you rebuild. If the circle is mixed, you do not have a cluster; you have a grocery, and no die is S. Fix geography on Island Layout before you rank a shop cube.
All-sixes homework: count how many 6 and 12 hexes you actually touch. If the answer is zero, the joke die is a brick. If the answer is three corners, it can climb to S for that run only. Screenshot-tier dice are local, not global.
When a tantrum burns the even peninsula, your even dice fall a letter until you convert a tile or spend a Mark tool. Re-rank mid-year. Pride is how C-tier trays linger. If you came here from a “best die” search, reread the first sentence: best means matching, and matching means you already surveyed the seed.
Frequently Asked Questions
Quick answers to the most common questions.
What is the best die?
The one that prints your cluster's Marks. Even dice are not globally best.
Is the all-sixes die S-tier?
Only on a 6/12 plan. Otherwise it is a brick.
Should I mix odd and even dice?
Usually no. Pick a parity and commit. Mixed trays fight themselves.
When do I buy dice versus recipes?
Recipe first, die second. A biased tray with a raw cook still fails the contract.